Dyrehaven in December

Dyrehaven in December

For some years I have wanted to visit Dyrehaven near Copenhagen during the Christmas holidays, but never really had the chance. This year I took the car back home, so I could bring my tripod and 150-600mm lens for the camera. It also seemed like the perfect chance to learn more about my new Nikon Z7ii mirrorless camera.

I visited Dyrehaven during the morning hours to see the sunrise and get a chance to find some of the local deer roaming the forests and fields around the Eremitageslottet. I read online that the male deer favourites the Northern part of the park, so I parked the car near Tvendehus at the Northern entrance.

Luckily the parks staff feed the deer around 8AM, so hundreds of deer was massed around some huts where the food was placed. I managed to capture photos of several large deer.

New camera – Nikon Z7ii

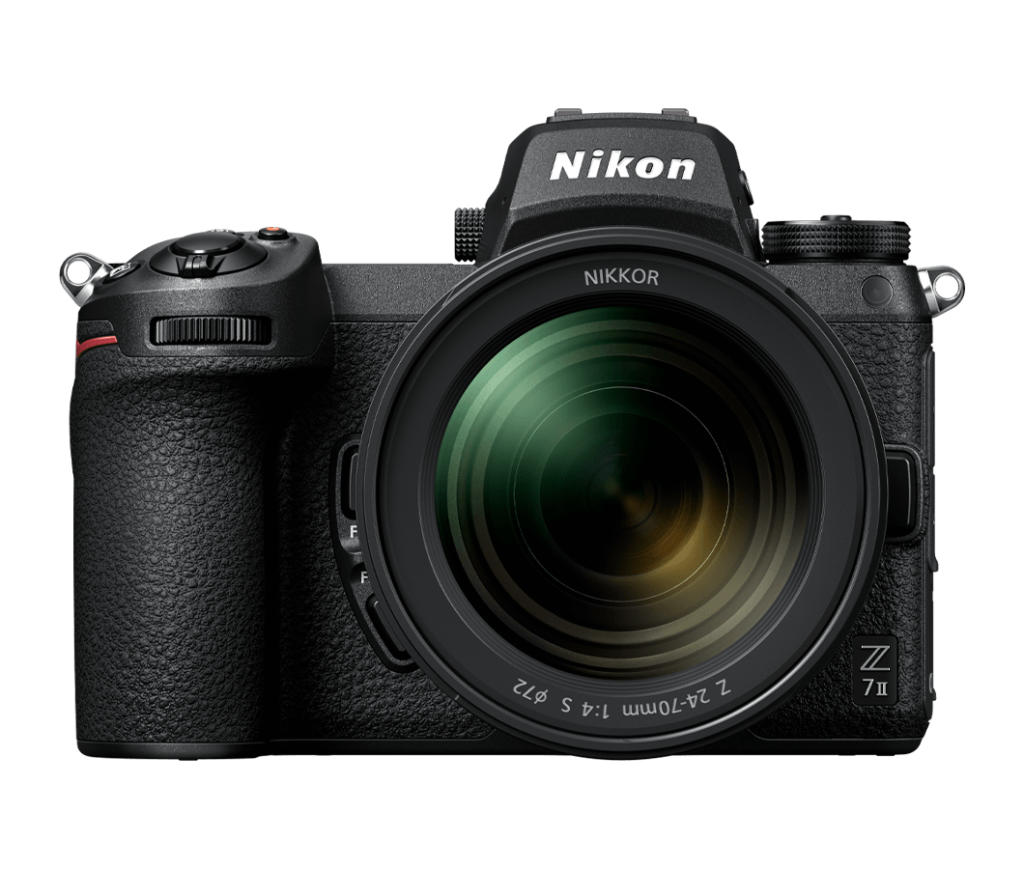
I’m a sucker for new technology and the new mirrorless technology for cameras have been tempting me for some time. In December 2020 Nikon’s new flagship mirrorless camera – the Nikon Z7ii – was released and I became one of the first in Denmark to get hold of it.

Nikon Z7ii

Two years ago I switched from Nikon’s DX format to the full frame (FX) D810. The change also meant I started shooting in RAW, rather than .jpg, which involved not only learning a new camera, but also a whole new post-processing technique in Lightroom. My first photo session with the D810 was quite underwhelming because I couldn’t figure out why my photos looked so poor in the LED-display on the camera.

However, after learning the power of the RAW-format and spending lots of hours with Adobe Lightroom I slowly learned how to utilize the powerful Nikon FX-camera – and I have loved it ever since. During those two years, several of my photos have been used in magazines, in ads and on various websites, so I must have done something correct with both my shooting and edits.

Low light test with the Nikon Z7ii at the local harbour.

So switching to a new technology again, the mirrorless Nikon Z7ii, I am very prepared for a learning curve yet again. So I’ve started testing it in various situations with low light, wildlife and landscape photography.

Astrophotography with the Nikon Z7ii

On my birthday the skies suddenly cleared for a few hours at night, which gave me the chance to test the camera at astrophotography. I drove to Kultippen (a barren area on Bornholm island) and captured this selfie:

Kultippen, Bornholm

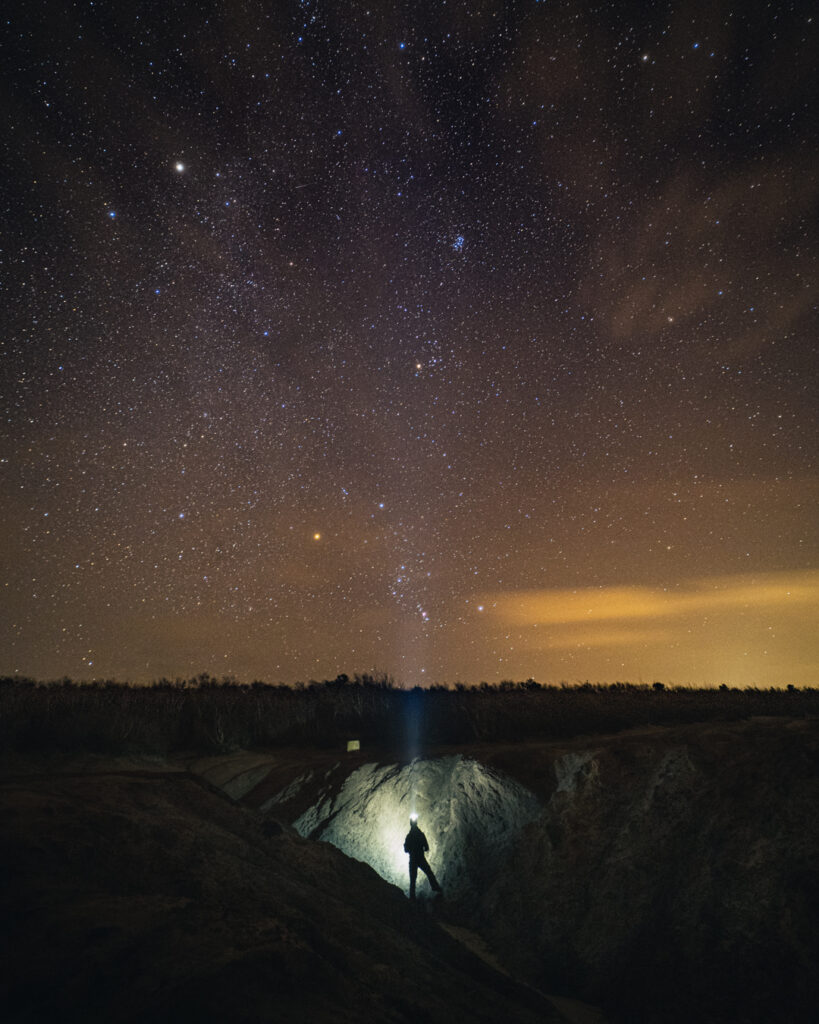
The photo was captured with a Samyang 14mm lens, which was fitted with an adaptor to the camera. Overall it seems to perform quite well.

Wildlife photography with the Nikon Z7ii

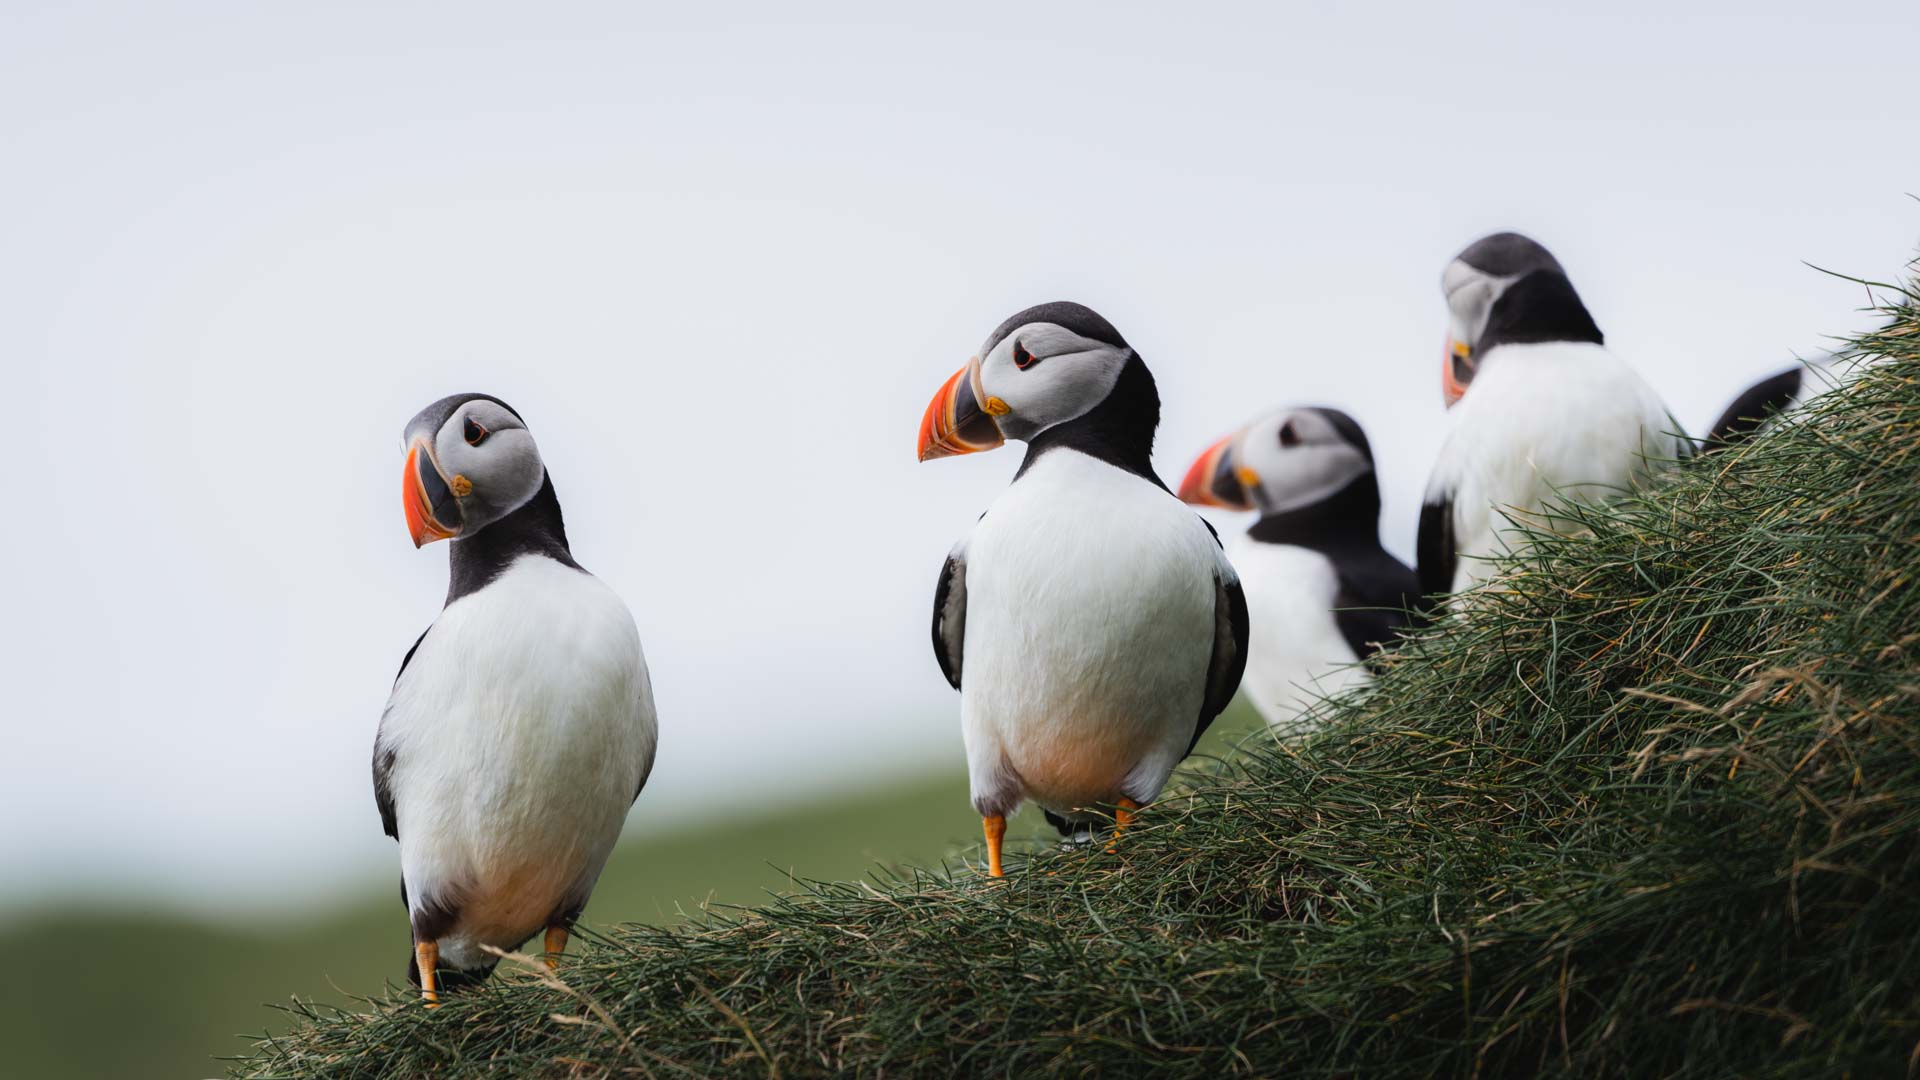
The following day I went for a trip in Almindingen forest on Bornholm, where I captured a small heard of bison amongst the trees using a Sigma 150-600m lens:

Bison crossing a clearing in the forest.

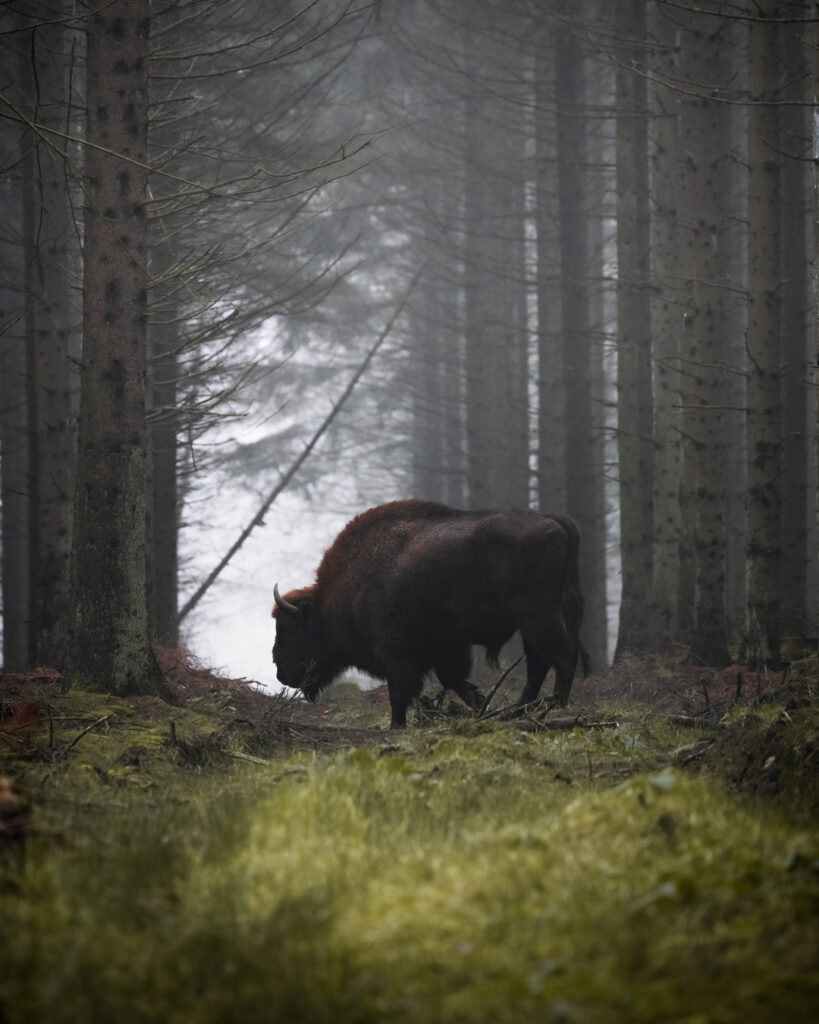
I experience quite a few problems with the auto-focus and the camera’s ISO went crazy. In the shot above I had the camera on auto-ISO and it set it to a whopping 8000. Luckily I could use Tropaz DeNoise AI to reduce the noise and it was acceptable for Instagram.

A 2nd bison crossing the clearing.

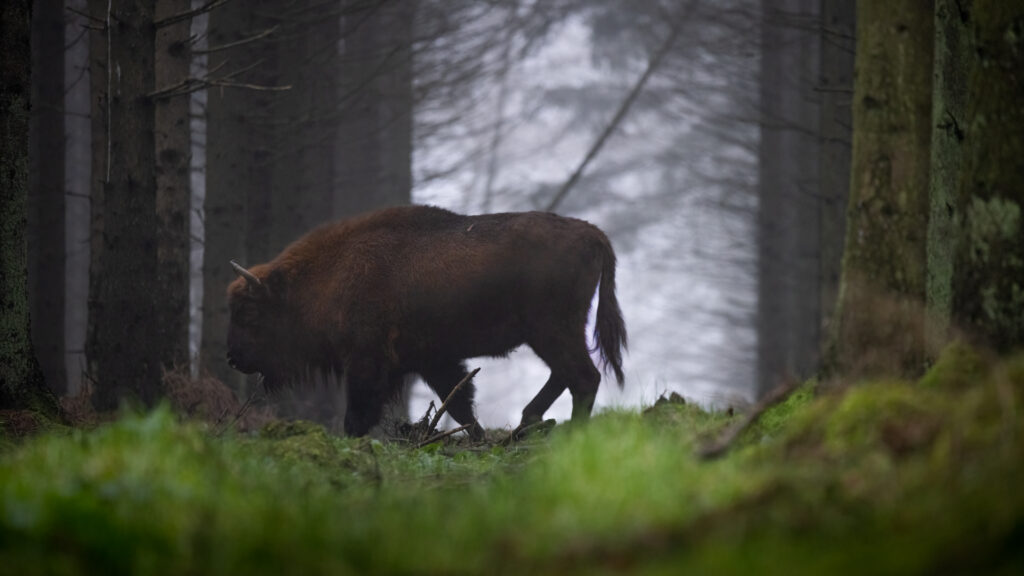
I took another shot of a 2nd bison in almost the same light with a fixed ISO of around 1200. It gave some post-processing noise in Lightroom, since I had to add more exposure. All in all, I think the camera was a bit overzealous with the ISO and lower could have done the trick.

Spotted some hikers in the forest.

Landscape photography with the Nikon Z7ii

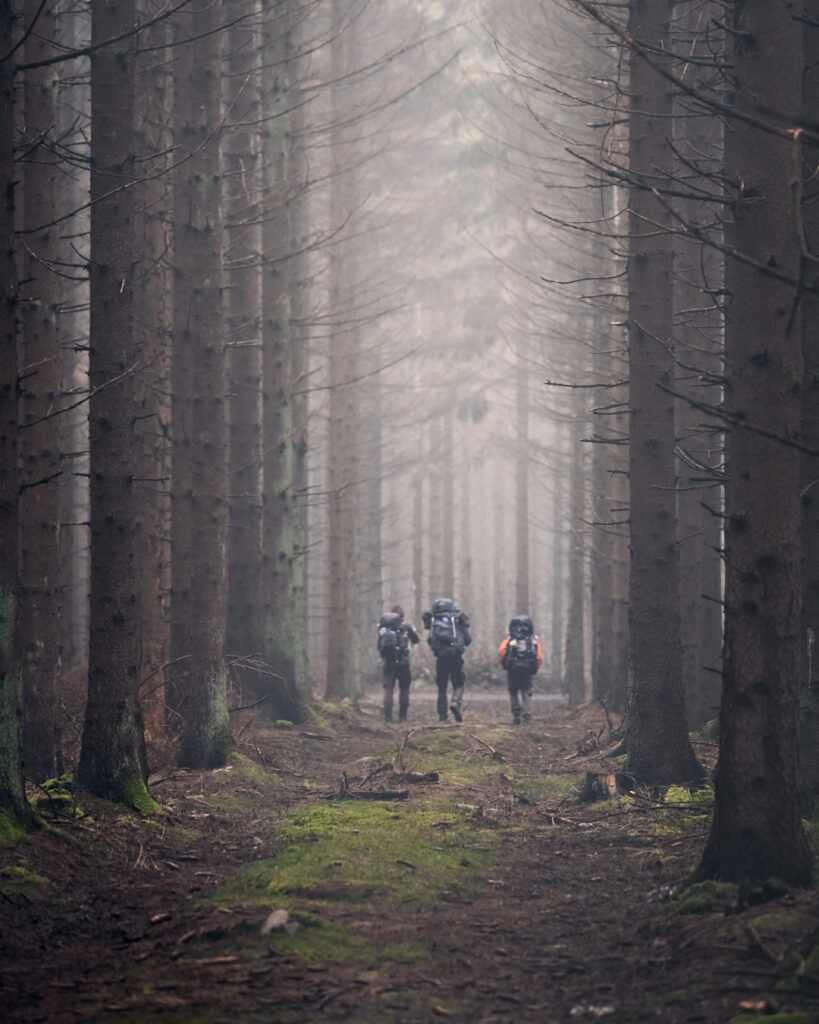
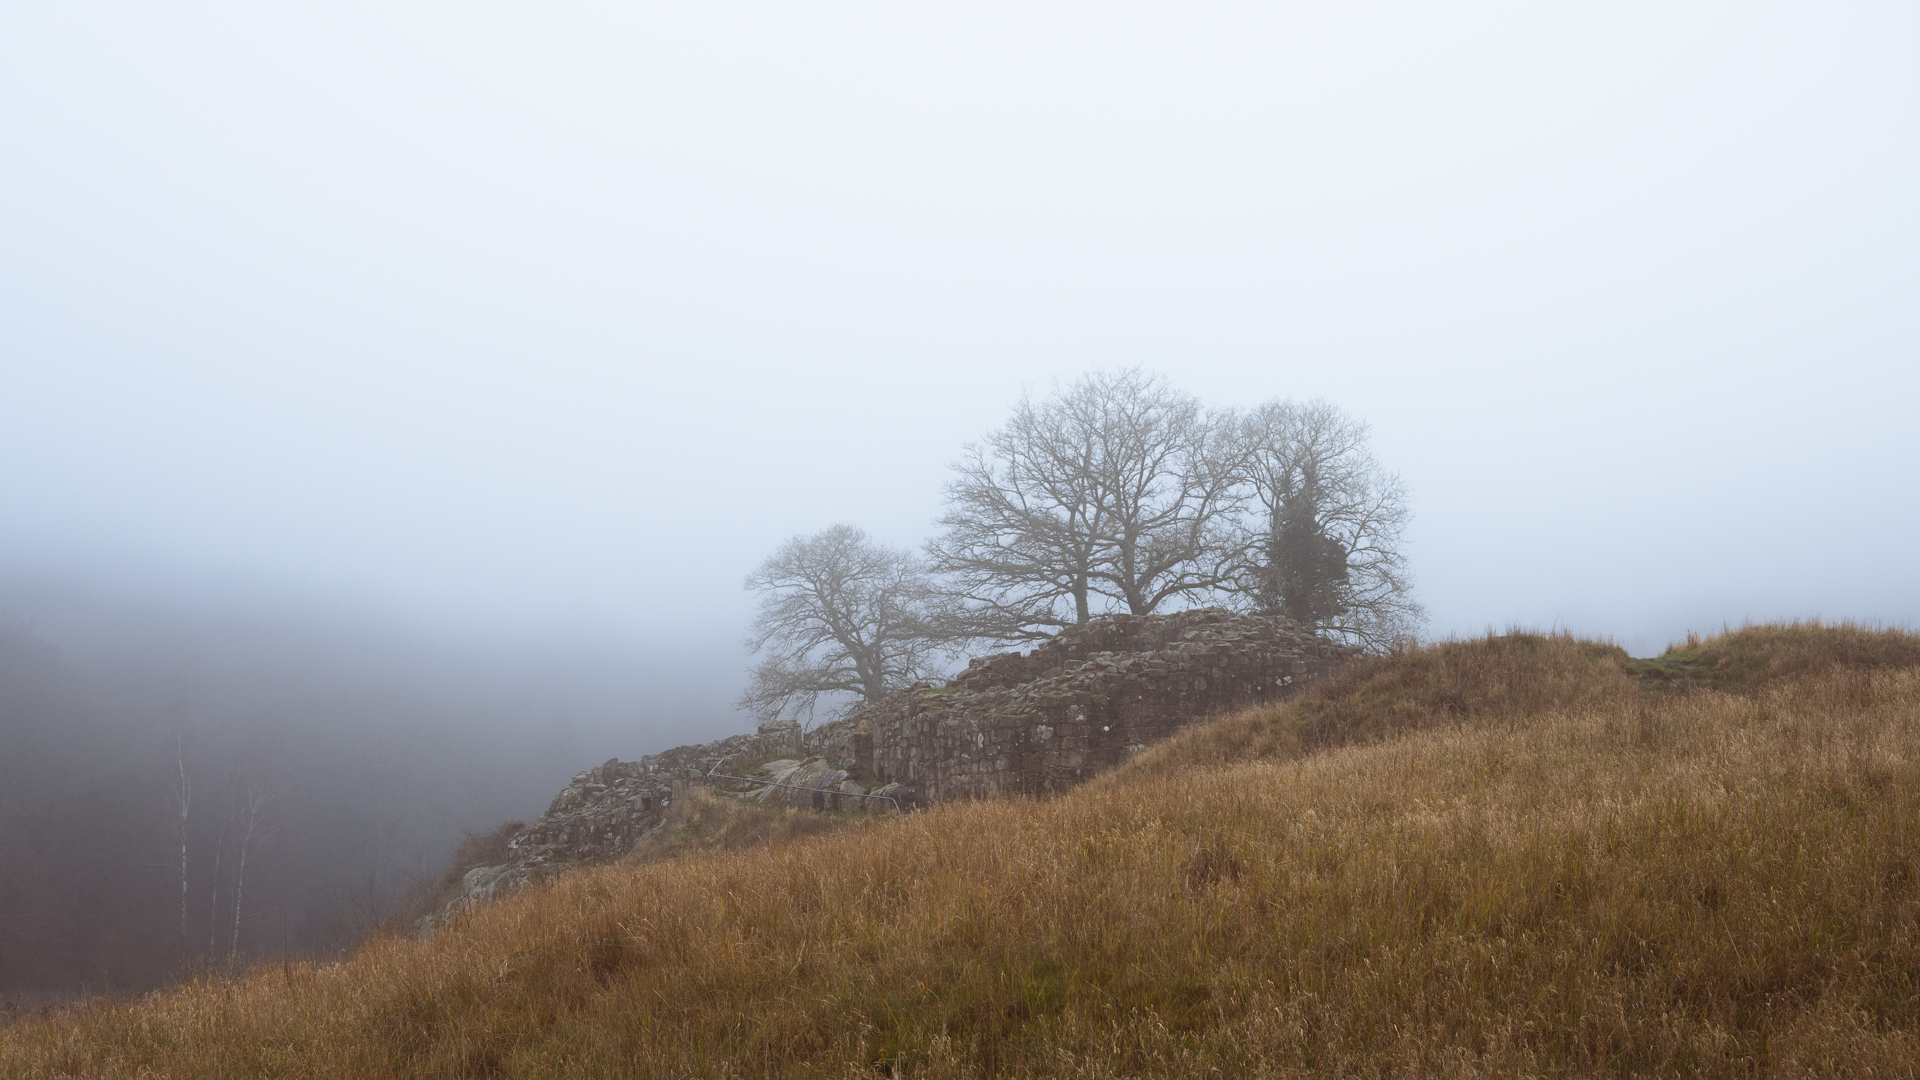
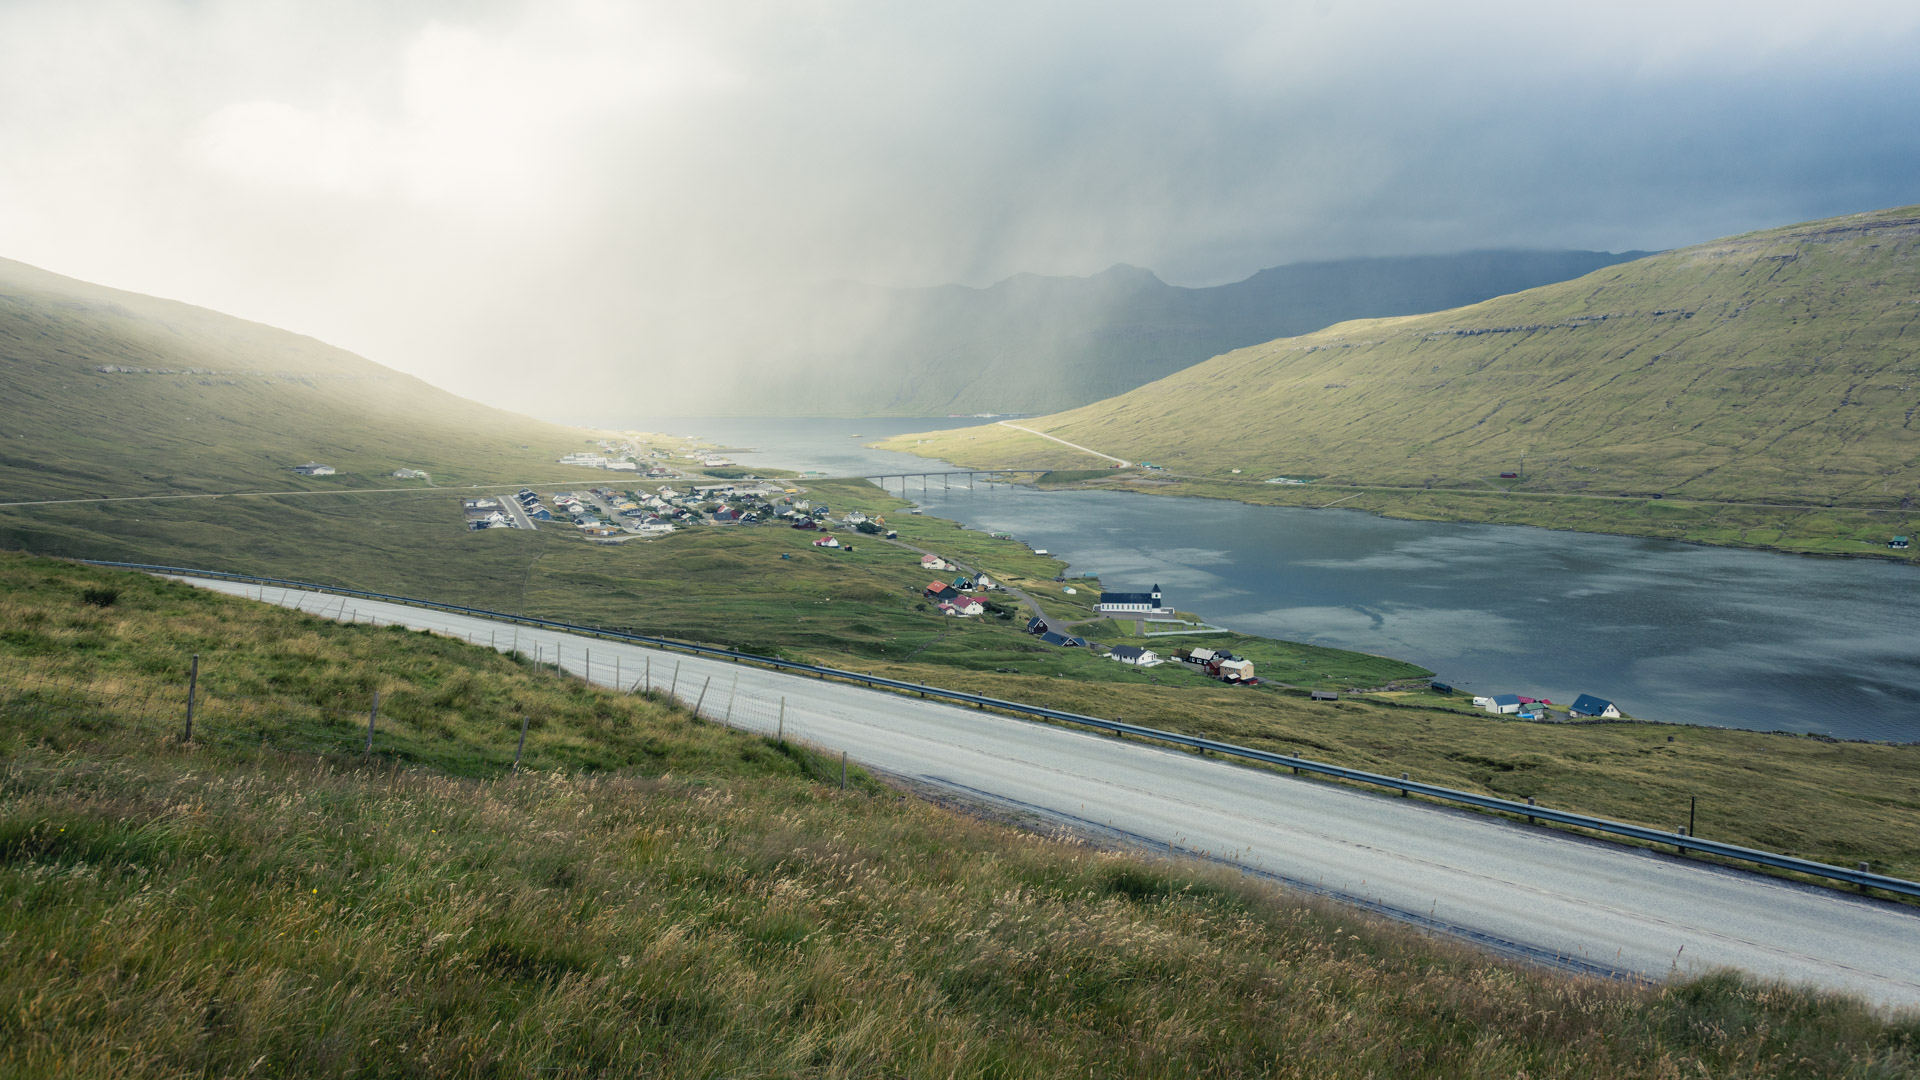
On the way home I stopped at the ruins of a medieval castle to test the camera in the foggy environment. The result was quite decent, so I think the learning curve with regular landscape photography will be quite easy.

Lille Borg (English: Little Castle) in Almindingen Forest, Bornholm.

6 days on the Faroe Islands

6 days on The Faroe Islands

The COVID-19 travel restrictions limited travel options this summer, but for Danes, both Iceland and the Faroe Islands were possible destinations. I’ve been following several Instagram and YouTube photographers who have captured stunning images of both places. However, I was particularly keen on photographing the puffins on Mykines with my 600mm Sigma lens. Hence, we opted to visit the Faroe Islands this year.

We arranged the entire trip through Færøernerejser, which meant we didn’t need to worry about hotels, routes, car rentals, or anything else—just the experiences and places we wanted to see.

One of the initial realizations when you begin marking attractions on a map of the Faroe Islands is their relative smallness. Typically, it takes around an hour to travel between your accommodation and the attractions. However, hiking from the car park often consumes most of the day.

In this blog post, I’ve outlined our itinerary for the trip and showcased my favorite photos from each day.

Day 1 – Vagár

We took a SAS flight from Copenhagen to Vagár airport on the Faroe Islands where we picked up our rented car from 62°N Car Rental. Luckily we got a free upgrade to a Renault Captur. This turned out to be the perfect car for our needs with plenty of room and comfy seeding. Our travel agency arranged for a single night at Hotel Vagar just a few hundred meters from the airport. This place is a self-service check-in with an excellent breakfast and is a great base for trips to Mykines and the rest of Vagár island.

Fiskastykkið restaurant

After our flight and check-in, we were rather hungry and used Google Maps to find a good restaurant near our hotel. Oddly enough we couldn’t find that many that was open on a Sunday. Luckily, we found one place in the nearby town of Sandavágur and it turned out to be one of the best places we dined during the whole trip! The place is named Fiskastykkið and is situated near the southern end of the town. Sadly we didn’t get any photos of the food, but I can highly recommend their fishbowl dish.

After eating lunch my wife dropped me off on the way back to the hotel, so I could hike out to the Trælanípan cliff on Vágar island. There is a parking spot at the start of the hiking trail, but you have to pay a fee of around 450 Danish kroner (around 60€) to walk the trail. It might sound a bit steep, but the experience is well worth the price.

The hiking path to Trælanípan. Notice the people at the top of the cliff.

The walk to Trælanípan is about 4km and takes about an hour. The path is well maintained, but I wouldn’t recommend with a baby carriage or wheelchair. There are no shops or vending machines on the hike (only at the parking lot at the beginning), so remember to take a bottle of water with you. The path is up and down some hills and valleys.

Once you get to the end, you can walk out on the cliff and look back down the coastal cliffs and see the Trælanípan cliff in all its glory. Seagulls swoop down from the cliff and above the waves breaking on the rock. It it quite a sight, but remember not to get to close to the edge!

Trælanípan with some people waaay to close the edge of the cliff.

if you have the time before heading back you should also go to the Southern edge of the cliff and see the Bøsdalafossur waterfall.

Bøsdalafossur waterfall.

Day 2 – Mykines

This island is home to several thousand puffins. I’ve seen amazing photos and videos of this place on Facebook, Instagram and YouTube through the years and finally, I got to see it myself.

We took the ferry from Sørvágur to Mykines as early as we could to have a full day on the island. The ferry takes about 30-40 minutes, and on the route, we got to see some of the Faroe Islands’ amazing coastal landscape. I highly recommend staying on the open deck of the ferry if the weather isn’t too cold.

View of the coast from the ferry.

It is possible to see puffins right around the harbour at Mykines, but if you hike to the top of the island, and follow the path towards the light, you will get to see the puffins up close.

Remember to bring cash or a VISA card to pay the hiking fee. I couldn’t figure out where to pay in town, so in the end, I started hiking up the cliff. At the very top, some lady ran after because I passed her by without paying the hiking free. Apparently, you pay that at the very top of the cliff. The fee is about 250 Danish kroner (33€). If you don’t want to pay or can’t walk the route, then you can also sit an enjoy the puffins near the harbour. You can even get quite close and get a good view with some binoculars.

This shot is taken at the harbour on Mykines.

I brought my 150-600mm Sigma lens, but at some of the places, the puffins were so close to the hiking path that I didn’t really need a zoom lens.

There is a small café on the island where you can get a cup of coffee and a piece of cake, but I highly recommend bringing water, good hiking shoes and a snack.

Mykines is a definite must-see while visiting the Faroe Islands. Just remember that that island closes for tourists in September and I highly recommend booking the ferry in advance!

Day 3 – Gjogv, Funningur and Fossá

On our third day on the Faroe Islands, we headed for the small village of Gjogv, where we booked into the picturesque Gjaargardur Guesthouse. The guesthouse offers breakfast and very good dinner – though the prices are a bit high. Gjogv is easy to get to by road and nearby you find a hiking route that offers an overview of the nearby town of Funningur.

Gjaargardur Guesthouse

The hiking trail is a bit hard to find (there really isn’t a visible trail), but if you drive from Gjogv to Funningur, you will encounter a small roadside parking spot near some fences. This is where you need to park the car and pass over the fence using the stairs.

If you walk across the fields with the mountain to your left, then eventually you will encounter a cliffside with a gorgeous view of Funningur.

Day 4 – Kalsoy and Kallur Lighthouse

We took an overnight stay at the town of Klaksvig on one of the Eastern islands. It seemed like a medium sized town with a heavy fishing industry. It wouldn’t recommend staying here for several days, but it is a perfect starting point for a trip to Kalsoy island and the well-photographed Kallur Lighthouse.

The island is not accessible by road, so you have to take the old car-ferry from Klaksvig. The ferry takes about 30 minutes or so before it docks at the Southern tip of Kalsoy island at the small town Syðradalur.

View of Trøllanes town from the first part of the hiking route.

After driving off the ferry you head North to the town of Trøllanes where you can park your car. When I visited in late August most of the town was closed. I recommend bringing water/cokes and some snacks/food. There are also some public restrooms available right before you start your hike to the lighthouse.

Kallur Lighthouse

Sadly, the wind was blowing quite heavily on the day I was there. The weather was also very grey with clouds, which prevented me from getting those great shots of the lighthouse that you can see on Instagram. However, I did manage to snap some photos that I was quite happy with. However, this is a place I would like to revisit on a day with more sun and clear skies.

Day 5 – Tórshavn

The forecast for our fifth day on the island promised rain – and a lot of it – so we drove to Tórshavn to do some shopping and visit a museum or two.

Tórshavn seems like a lovely city, but the grey weather and rain showers gave the urban environment a dull appearance compared to the amazing natural vistas we had seen the previous days.

Streymin Bridge during a heavy rain shower

After a bit of shopping we headed for the National Museum, but on the way we were hit by a heavy rainshower that left us soaked to the skin. We decided to head back to the hotel and just relax a bit before going home the next day.

Day 6 – Going home again

On our last day on the Faroe Islands, we headed back to the airport and dropped off our rental car.

Vagár Airport is rather small and everything was closed while we waited for our plane to arrive. However, it gave me time to edit a few photos and look at some brochures with inspiration for our next visit to the Faroe Islands – because this is a place I need to re-visit and experience again!